To add a Window to the project:
| 1. | Click the Add button in the Home Ribbon. |
| 2. | Select Window |
| 3. | Choose the desired size and style from the list on the right-hand side of the dialog. As an item is chosen in the list, images will be displayed in the left-hand side of the dialog (if available). |
| 4. | Select OK |
 |
| Click on image to enlarge |
| 5. | Move the cursor to the desired location for the Window and press the left mouse button once to place the Window. The Window will be represented by a dark grey line on the wall. To place an additional Window of a different size/style/type, use the Window option from the Settings menu in the Home Ribbon to choose the desired Window prior to placing the additional Window. |
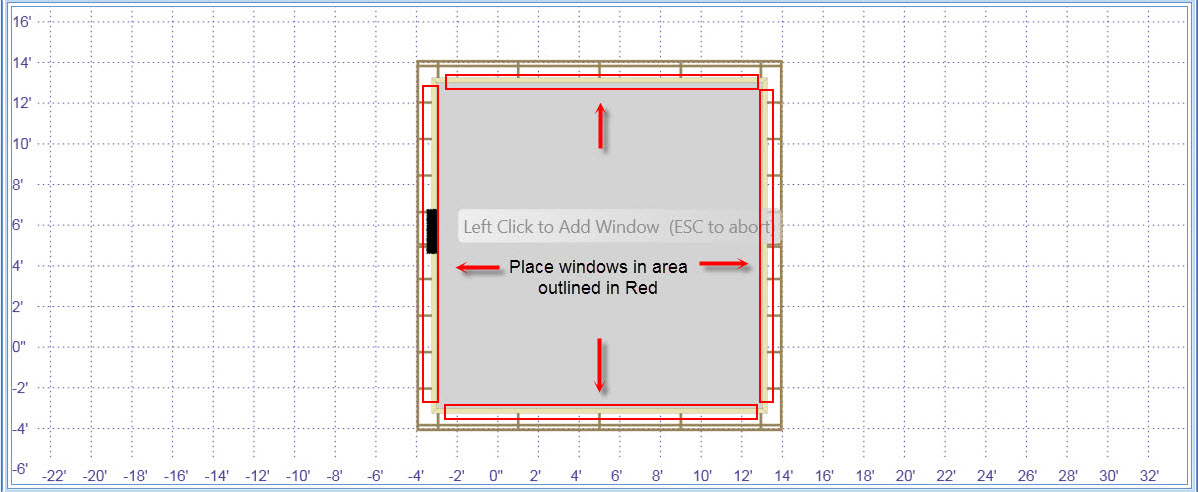
![]() Indicates an area where the Window is not allowed to be placed.
Indicates an area where the Window is not allowed to be placed.