![]() Modifying Railing Properties
Modifying Railing Properties
Edgenet's Deck Design supports two different construction styles for railings: Custom (the default) and Kit. Custom railings are built up from pieces of wood on-site. A kit is purchased from a manufacturer and installed on-site.
You can set railing properties by double-clicking the railing to open the Railing Properties dialog.
Note: Railing properties can also be accessed by clicking the Modify button in the Home Ribbon and selecting Railings from the menu. If multiple railings exist, you will be prompted to choose a railing to edit.
![]() Materials Tab
Materials Tab
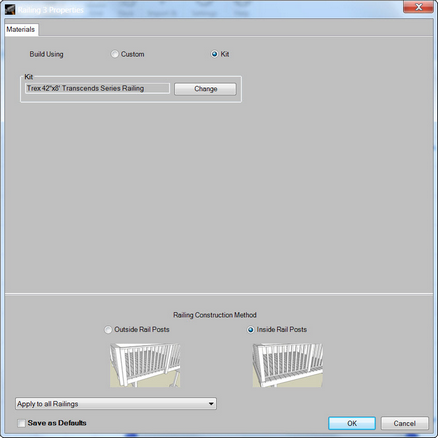
The Materials tab is the default view for the Railing Properties dialog, and is used to choose the Custom or Kit option.
Custom: To change the lumber type used for the railing components, use one of the Change buttons. When using the Custom setting, you can also choose from several railing styles using the Styles tab.
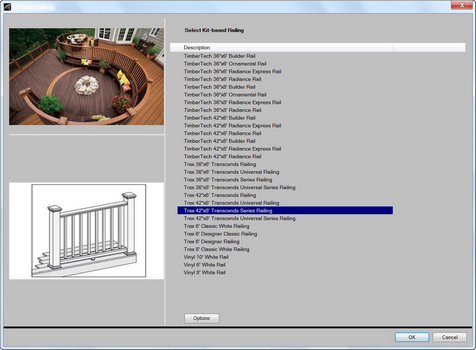
Kit: With this option selected, railing is designed based on the kit you choose. To change the kit and any kit material options, use the Change button.
![]() Spacings Tab
Spacings Tab
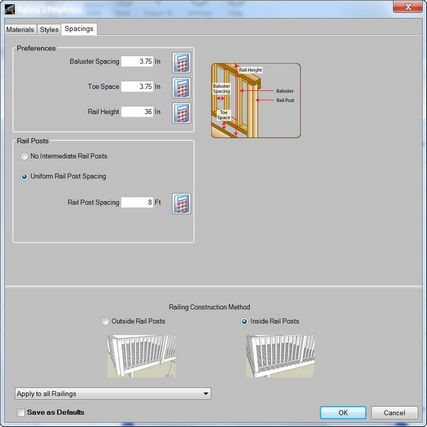
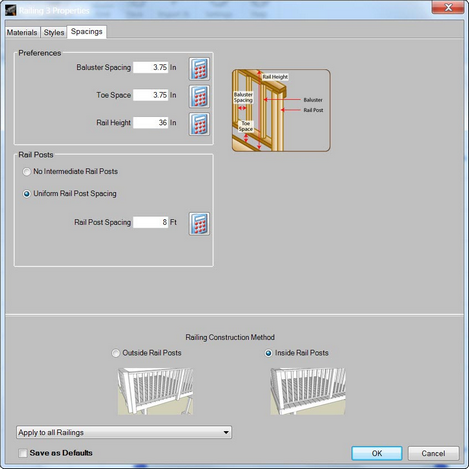
The Spacings tab is used to select the amount of baluster spacing, rail post spacing, toe space, and rail height. Also, you can set options for the railing posts around the deck perimeter using the Rail Posts options:
| • | No Intermediate Rail Posts: The software, by default, places posts between the corner posts in the railing. Selecting this option removes the middle posts. |
| • | Uniform Rail Post Spacing: This option places posts between corner posts every x number of feet. Enter the number of feet desired between each rail post. |
| • | Use Spacing from Material: With this option, for kits only, selected, the software automatically calculates the post spacing. |
![]() Styles Tab
Styles Tab
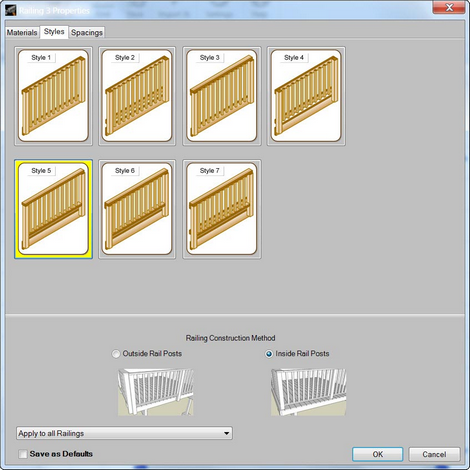
The Styles tab contains style options for lumber railings.
The drop-down list at the bottom of the Railing Properties dialog contains the following options:
| • | Apply to all Railings: Applies material and style changes to all railings on all decks in the design |
| • | Apply to all Railings on this Deck: Applies material and style changes to all the railings on the current deck |
| • | Apply only to this Railing: Applies material and style changes only to the railing that you double-clicked |
| • | The Inside Rail-posts option, when selected, merges corner posts and places them on the inside of the deck. |
![]() Removing Railings
Removing Railings
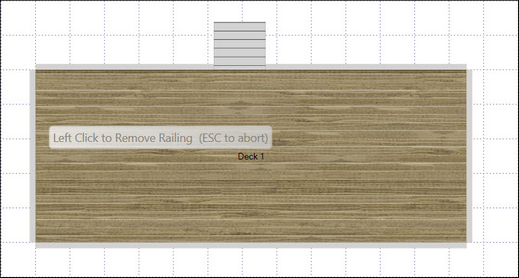
| 1. | Click the Remove button in the Home Ribbon. |
| 2. | Select Railings or All Railings from the menu. |
| 3. | If you chose Railings, click the desired railing to be removed. Press the ESC key to return to the deck design. Choosing All Railings removes all railings from the deck design when the option is chosen. |
![]() Sizing Railings
Sizing Railings
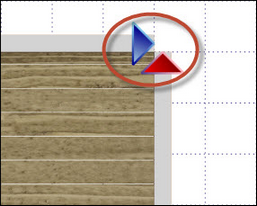
| 1. | Zoom to the area of the railing. |
| 2. | Drag and release the grip point (represented by |
